
Pruning
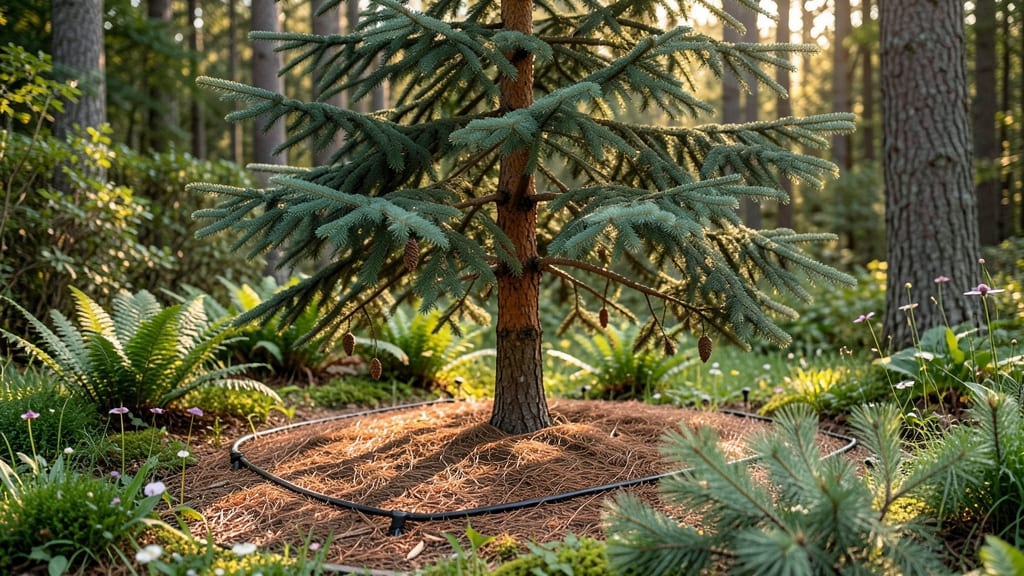
Your hemlock tree's lush, disease-resistant foliage starts with the right pruning approach. ✂️ I've learned the hard way that hemlocks need year-round care—not just seasonal trimming—to stay dense and healthy, especially if you're dealing with pests like spider mites or woolly adelgids.
The key is timing: prune lightly in spring to encourage new growth, then do heavier maintenance in late summer to remove dead branches before winter.
The tools you'll need are simple: sharp pruning shears, a ladder (for taller trees), and gloves—always wear them, because while Tsuga species are non-toxic, the look-alike poison hemlock (Conium maculatum) is deadly. Start by removing crossing branches first, then thin out the interior to improve airflow.
Hemlocks hate stagnant air, which is how fungal diseases take hold. What you'll end up with is a tree that looks fuller and greener than your neighbors', with fewer brown patches and stronger branches. The best part?
You'll catch problems early, like discolored needles or sawdust-like frass from pests, before they spread. Think of it as a health check for your tree every few months. Works for both young saplings and mature trees—just adjust the intensity.
Here’s how to do it right without stressing the tree (or yourself).
📚 In This Guide
- What you need
- Instructions
- Tips and common mistakes
- Wrapping up and next steps
What you need
- ● Pruning shears: Bypass pruners (sharp, 6–8" blades) for small branches.
- ● Loppers: 10–14" bypass loppers for medium branches (2–4" diameter).
- ● Pruning saw: Curved-tooth saw for thick branches (4"+ diameter).
- ● Extension pole: 6–10 ft telescoping pole with pruners/loppers for high branches.
- ● Gloves: Heavy-duty, cut-resistant gloves (leather or reinforced fabric).
- ● Safety gear: Safety glasses, long sleeves, and closed-toe shoes.
- ● Disinfectant: 70% isopropyl alcohol or bleach solution (1 part bleach to 9 parts water) to sterilize tools.
- ● Trash bags: Heavy-duty bags (10–20 gallon) for debris removal.
- ● Rake or leaf blower: For clearing fallen needles and small branches.
- ○ Tree wound dressing: Pruning sealant (optional; research suggests it’s often unnecessary for hemlocks).
- ● Fungicide: Copper-based spray (preventative measure for hemlock woolly adelgid or rust).
- ● Mulch: 2–4" layer of organic mulch (wood chips or pine straw) to retain moisture.
- ● Watering can or hose: With a gentle spray nozzle for post-pruning hydration.
- ● Ladder: Sturdy, extendable ladder (for trees over 10 ft tall).
Step-by-Step hemlock tree pruning for year-round health
Here’s how I keep hemlocks thriving with strategic cuts that boost density and fend off disease.
🌿 Step 1: Assess the Tree for Structural and Health Issues
Start by examining the hemlock for dead, diseased, or crossing branches. Dead branches snap when bent slightly, while healthy ones bend without breaking. Look for brown needles clinging to stems—these indicate stress or fungal infection. I mark branches with spray paint for removal to avoid confusion mid-prune.
Focus on branches growing toward the center of the tree or rubbing against others. These compete for sunlight and nutrients, weakening the canopy over time. Use a 3x optical lens to spot small issues like spider mites or needle blight hiding in dense foliage. Prune when the tree is actively growing—early spring or late summer—to minimize stress.
✂️ Step 2: Remove Deadwood and Diseased Branches First
Cut out dead branches at their point of origin using clean, sharp pruning shears or a pruning saw for thicker stems. Sterilize tools between cuts with 70% isopropyl alcohol to prevent spreading disease. I make cuts just outside the branch collar—the swollen area where the branch meets the trunk—to promote faster healing.
For diseased branches, bag and dispose of them immediately. Never compost infected material, as spores can survive and reinfect the tree. If you see fungal growth (white, orange, or black fuzz), treat the wound with copper fungicide after pruning. Hemlocks are prone to woolly adelgid, so inspect the undersides of needles for cottony white pests—these require targeted insecticide treatment.
☀️ Step 3: Thin the Canopy for Airflow and Light Penetration
Step back and visualize the tree’s shape. Aim to remove no more than 25% of the foliage in a single session to avoid shocking the hemlock. Focus on branches growing inward or downward, which block sunlight and trap moisture. Use hand pruners for branches under ½ inch thick and a pruning saw for thicker limbs.
Make cuts at a 45-degree angle just above a lateral bud or outward-facing branch to encourage new growth in the right direction. Avoid leaving stubs—they invite decay. After thinning, the inner branches should receive at least 3 hours of indirect sunlight daily, which prevents fungal issues and keeps foliage dense.
🪴 Step 4: Shape the Tree for Balance and Aesthetics
Hemlocks have a naturally conical shape, but pruning can refine it. I start at the bottom and work upward, removing branches that disrupt the taper. For formal hedges, use hedge shears to trim evenly, but leave the natural shape for specimen trees. Avoid over-pruning the top—this can expose the leader (central stem) to sun scorch.
After shaping, rake up fallen needles and debris from the base. This reduces hiding spots for pests and improves airflow around the trunk. Water deeply if the ground feels dry to the touch, especially after heavy pruning. Hemlocks have shallow roots, so 1-2 inches of mulch (kept 6 inches from the trunk) helps retain moisture and regulate soil temperature.
⏰ Step 5: Monitor and Maintain Year-Round
Check the tree every 4-6 weeks for new dead branches or pest activity. Hemlocks are slow to show stress, so early intervention is key. In late winter, apply slow-release fertilizer if the soil is nutrient-poor, but avoid heavy feeding after pruning—it stresses the tree.
If you notice yellowing needles in late summer, it’s often normal—hemlocks shed older needles annually. But if more than 20% of the canopy turns yellow or brown, investigate further. Adjust watering if the soil stays soggy for more than 48 hours, as hemlocks hate waterlogged roots. With consistent care, your tree will develop a dense, disease-resistant canopy within 2-3 years.
Tips & tricks for perfect hemlock tree pruning
These game-changing techniques will help you transform your hemlock into a lush, resilient centerpiece that stays healthy year-round.
Visual Assessment Mastery: In Step 1, when checking for dead branches, bend them gently—healthy branches bend without snapping, while dead ones break cleanly. This simple test saves time and prevents unnecessary cuts. For fungal infections, look for brown needles clinging to stems, especially in dense clusters. I always use a 3x optical lens to spot early signs of spider mites or needle blight hiding in the foliage—these tiny pests can devastate a tree if ignored.
Sterilization Strategy: Between cuts in Step 2, sterilizing your tools with 70% isopropyl alcohol is non-negotiable. I keep a small spray bottle handy and apply it after every 3-5 cuts, especially when dealing with diseased branches. The alcohol evaporates quickly, leaving no residue that could harm the tree. For stubborn fungal growth, I follow up with copper fungicide—it’s the most effective treatment I’ve found for preventing reinfection.
Canopy Thinning Precision: When thinning in Step 3, focus on removing branches that block sunlight from reaching the inner canopy. Aim for at least 3 hours of indirect sunlight daily for those inner branches—this prevents fungal issues and maintains dense foliage. I always make cuts at a 45-degree angle just above a lateral bud, which encourages new growth in the right direction. Avoid leaving stubs, as they create entry points for decay and pests.
Year-Round Monitoring: The 4-6 week check-up schedule in Step 5 is crucial—hemlocks are slow to show stress, so early intervention prevents long-term damage. I keep a simple logbook where I note any changes in needle color, pest sightings, or branch health. This helps me track patterns over time and adjust my care routine accordingly. In late winter, I apply slow-release fertilizer only if the soil appears nutrient-poor, as over-fertilizing can stress the tree after pruning.
Pro Tips for Hemlock Tree Care
- These game-changing techniques will help you transform your hemlock into a lush, resilient centerpiece that stays hea...
- Visual Assessment Mastery: In Step 1, when checking for dead branches, bend them gently—healthy branches bend without...
- Sterilization Strategy: Between cuts in Step 2, sterilizing your tools with 70% isopropyl alcohol is non-negotiable. ...
Frequently asked questions
Got questions about keeping your hemlock tree thriving?
Here are answers to the most common concerns—from pruning tips to pest troubleshooting—so you can care for your tree like a pro!
When is the best time to prune a hemlock tree?
The ideal time to prune hemlocks is late winter or early spring (February–March), just before new growth begins. This minimizes stress and reduces the risk of disease. Avoid pruning in late summer or fall, as it can encourage tender new growth vulnerable to winter damage.
How much of a hemlock tree can I safely prune?
Never remove more than 25% of the tree’s canopy in a single year. Hemlocks are sensitive to over-pruning, which can weaken the tree or invite pests. Focus on thinning out dense branches to improve airflow—aim for an open, airy structure rather than heavy cuts.
What should I do if my hemlock tree has brown tips or needles?
Brown tips are often caused by drought stress, pests (like spider mites), or fungal issues. First, check the soil moisture—hemlocks prefer consistently damp (but not soggy) conditions. If pests are the culprit, treat with neem oil or insecticidal soap. For fungal concerns, prune affected branches and avoid overhead watering.
Are there alternatives to hemlock trees for shade and year-round greenery?
Yes! If hemlocks aren’t ideal for your climate or space, consider eastern white pine, arborvitae, or Colorado blue spruce. These evergreens also offer dense foliage and disease resistance. Just note that some (like arborvitae) may need more frequent pruning to maintain shape.
How often should I fertilize a mature hemlock tree?
Mature hemlocks typically don’t need annual fertilization if the soil is healthy. However, if your tree looks pale or stunted, apply a balanced, slow-release fertilizer (10-10-10) in early spring. Over-fertilizing can harm roots—test soil first if unsure!
Why is my hemlock tree dropping needles in patches?
Patchy needle drop can signal woolly adelgid infestation, root rot, or environmental stress. Inspect the tree for cottony pests (adelgids) on branches. If confirmed, treat with horticultural oil. For root issues, improve drainage and avoid compacting soil around the base.
Wrapping up and next steps
Caring for your hemlock tree year-round isn’t just about aesthetics—it’s an investment in its health and longevity. By mastering pruning techniques, monitoring for diseases, and providing the right nutrients, you’ll reward yourself with a lush, resilient tree that stands strong for decades. 🌲✨
Ready to take action? Start by scheduling your next pruning session—whether it’s a light trim in spring or a deeper clean-up in winter. With patience and consistency, your hemlock will thrive, becoming the showstopper of your landscape!