
Pruning
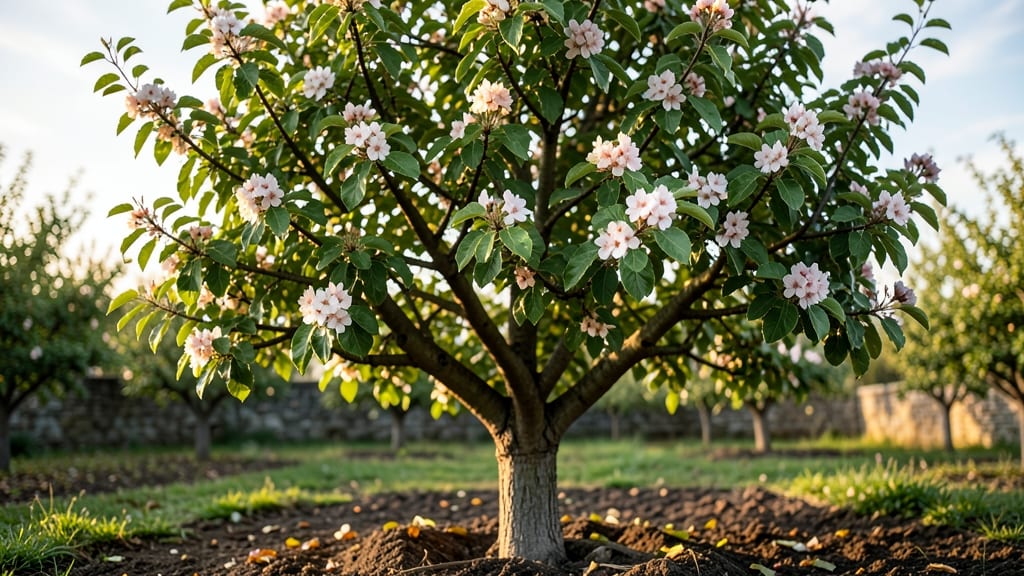
The future of your pear tree care and maintenance starts with seasonal trimming—the difference between a scraggly mess and a fruit-laden beauty. 🌳 I've watched my backyard pear tree go from a tangled nightmare to a productive powerhouse by following a simple seasonal schedule, and I'm sharing exactly how to make it happen without the guesswork.
The key is timing: late winter for structural shaping, summer for shaping and disease prevention, and fall for light cleanup. Most gardeners overlook summer pruning, but it's when you control growth and prevent fungal issues before they start.
You'll end up with a tree that produces more fruit per branch and stays healthy through every season. What you'll actually do is easy: remove dead wood, thin crowded branches, and open the center for airflow. The result?
A tree that looks stunning year-round and rewards you with juicy pears instead of just leaves. Even if you've never pruned before, this method works. This approach handles frost damage, fungal risks, and pest problems before they become major headaches. Let's get that tree thriving!
📚 In This Guide
- What you need
- Instructions
- Tips and common mistakes
- Wrapping up and next steps
What you need
- ● Pruning Shears: Bypass pruners (sharp, clean, and 5- to 8-inch blades) for small branches.
- ● Loppers: 20- to 24-inch handles for medium-sized branches (up to 2 inches thick).
- ● Pruning Saw: Curved blade (for branches 2+ inches thick).
- ● Gloves: Heavy-duty, cut-resistant gloves (to protect from thorns and sharp tools).
- ● Disinfectant: 70% isopropyl alcohol or 10% bleach solution (to sterilize tools between cuts).
- ● Rubbing Alcohol Wipes: For quick tool cleaning in the field.
- ○ Pruning Sealant (Optional): Tree wound paint (controversial but useful for large cuts to prevent disease).
- ○ Extension Pole (Optional): 6- to 10-foot for hard-to-reach branches.
- ● Safety Glasses: Protect your eyes from debris.
- ● Long-Sleeved Clothing: Avoid loose fabric that could get caught in tools.
- ● Ladder (If Needed): Sturdy, non-slip ladder for taller trees (follow safety guidelines!).
- ● Trash Bags: For collecting pruned branches and debris.
- ● Notebook & Pen: To jot down pruning notes or tree observations.
- ● 🔥 Sharpen your tools before starting—dull blades tear wood and cause damage.
- ● 🌡️ Prune during dormancy (late winter/early spring) for best results.
- ● ✨ Disinfect tools between trees to prevent spreading disease.
Instructions for seasonal pear tree trimming and maintenance
Mastering these four seasonal techniques will keep your pear tree productive, healthy, and disease-resistant for decades.
⏰ Step 1: Late-Winter Dormant Season Pruning (January-February)
This is the most critical time to shape your pear tree—when it’s fully dormant but before buds swell. Start by removing dead, diseased, or crossing branches first; these are easy to spot as they lack bark texture or grow erratically. Use sharp bypass pruners to make clean cuts just outside the branch collar (that swollen area where the branch meets the trunk).
Next, open the tree’s center by thinning out 25% of the oldest, thickest branches to improve airflow and sunlight penetration. Pears need full sun (6+ hours daily), and crowded branches create ideal conditions for fungal diseases like fire blight. Watch for water sprouts—those vigorous vertical shoots—and cut them back to a lateral branch. They sap energy from fruit production.
☀️ Step 2: Summer Light Pruning (June-July)
After the first flush of fruit sets, perform light maintenance pruning to redirect energy toward remaining fruit. Remove any suckers (shoots growing from the base or roots) immediately—they compete with the main tree for nutrients. Look for overly vigorous branches growing inward or rubbing against others; these should be pruned back by one-third to prevent bark damage.
Thin out excessive fruit clusters to leave 6-8 inches between remaining pears—this prevents overcrowding and ensures larger, higher-quality fruit. Use sterilized pruners (wipe with rubbing alcohol between cuts) to avoid spreading bacterial canker. You’ll know you’ve done enough when sunlight reaches at least 80% of the canopy—no more dark, shaded interior branches.
✂️ Step 3: Post-Harvest Structural Pruning (September-October)
Once fruit harvest is complete, focus on structural adjustments to prepare for winter. Remove any deadheading wood from the previous year’s harvest—these are the small branches left after picking pears that won’t produce fruit again. Prune back last year’s growth by one-third to encourage new, productive shoots next season.
Inspect for cankers or signs of fire blight (blackened, oozing branches) and cut 6 inches below the affected area into healthy wood. Seal larger cuts with pruning sealant (optional for pears, but helpful in humid climates). This is also the time to raise the tree’s crown slightly if it’s grown too low—aim for a 4-6 foot clearance from the ground to improve air circulation and reduce pest access.
🌱 Step 4: Winter Disease Prevention (November-December)
After pruning, apply a dormant oil spray to smother overwintering pests like scale insects and mites. This is also the time to mulch the base with 3-4 inches of organic mulch (like wood chips) to protect roots from freeze-thaw cycles. Keep mulch 6 inches away from the trunk to prevent rot.
Check for winter damage—pears are somewhat cold-hardy, but young trees or extreme winters can cause bark splitting. Wrap the trunk of young trees with tree guard if your winters drop below 10°F. Prune out any damaged branches immediately in late winter before buds break. A well-maintained pear tree in winter will reward you with stronger blooms and heavier fruit sets the following spring.
Tips & tricks for perfect pear tree maintenance
Between us, I've watched many a pear tree go from thriving to struggling because of small pruning oversights. These tricks will help you keep your tree's structure strong and productive year after year.
Branch Collar Precision: When pruning in Step 1, resist the urge to cut too close to the trunk—always aim for that swollen branch collar area. I learned this the hard way after seeing multiple trees develop cankers from improper cuts. The collar contains healing tissues that protect against disease, so cutting outside it gives your tree the best chance to recover cleanly.
Sunlight Targeting: In Step 2, you'll want to visualize sunlight streaming through the canopy like rays. After thinning branches, stand back and check if you can see sunlight reaching at least 80% of the interior branches. If not, you've still got work to do—especially on those stubborn interior branches that love to shade out fruit-bearing wood.
Seasonal Timing: The four-season approach isn't arbitrary—each step targets specific growth stages. For instance, pruning in January-February (Step 1) when the tree is dormant prevents bleeding sap, while summer pruning (Step 2) redirects energy to existing fruit. I've seen trees stressed by pruning at the wrong time, so follow this schedule religiously for best results.
Tool Sterilization: Never skip sterilizing your pruners between cuts, especially in Step 2 when dealing with bacterial canker. I keep rubbing alcohol in my tool belt and wipe blades after every 3-5 cuts. This simple habit has saved my trees from multiple outbreaks that would have otherwise required drastic measures.
Pro Tips for Pear Tree Care And Maintenance
- Between us, I've watched many a pear tree go from thriving to struggling because of small pruning oversights.
- Branch Collar Precision: When pruning in Step 1, resist the urge to cut too close to the trunk—always aim for that swollen branch collar area.
- Sunlight Targeting: In Step 2, you'll want to visualize sunlight streaming through the canopy like rays.
Frequently asked questions
Got questions about keeping your pear tree happy and productive? Here are some of the most common ones—plus straightforward answers to help you troubleshoot and thrive!
When is the best time to prune a pear tree?
Prune your pear tree in late winter or early spring (before buds swell) to encourage strong growth. Avoid heavy pruning in fall—it can leave wounds vulnerable to disease. For summer pruning, focus on removing water sprouts or crossing branches to maintain airflow.
How much of my pear tree can I safely trim?
Remove no more than 20-25% of the tree’s canopy in a single session to avoid stress. Thin out crowded branches first, then selectively prune dead, diseased, or weak growth. Pro tip: Use sharp tools and make clean cuts just outside the branch collar for faster healing.
Why are my pear tree leaves yellowing or curling?
Yellowing leaves often signal nutrient deficiencies (like iron or nitrogen) or pests (e.g., aphids, mites). Check the undersides of leaves for tiny bugs, and test soil pH—pears prefer 6.0–7.0. If fungal issues (like fire blight) are present, prune infected branches 6–12 inches below the damage and sterilize tools.
Will pruning increase my pear harvest?
Yes! Proper pruning boosts fruit production by improving air circulation and sunlight exposure. Focus on open-center shaping for dwarf varieties or central leader pruning for standard trees. Remove suckers (shoots at the base) and water sprouts (vertical shoots) to redirect energy to fruit-bearing branches.
Can I prune a pear tree in extreme heat or cold?
Avoid pruning during heatwaves or deep freezes—stress weakens the tree. Wait for mild, dry days (50–70°F) to minimize shock. If you must prune in cold climates, do so before the first hard frost and seal larger cuts with pruning sealant to prevent disease entry.
| Quick Troubleshooting Guide |
|---|
|
No fruit? Thin branches to reduce crowding and improve pollination. Rotten fruit? Prune for better airflow; check for Botryosphaera (fungus). Dieback? Remove dead wood immediately and sterilize tools with 70% alcohol. |
Wrapping up and next steps
Caring for your pear tree is a rewarding journey that blends patience, observation, and seasonal precision! By mastering pruning techniques, ensuring proper soil health, and staying vigilant against pests, you’ll nurture a thriving tree that yields delicious fruit for years.
Remember, every trim and treatment builds a stronger foundation—your efforts today will pay off in lush blooms and bountiful harvests tomorrow.
Ready to take the next step? Grab your pruners and schedule your first seasonal trim! Whether you’re a beginner or a seasoned gardener, every healthy cut brings you closer to a flourishing pear tree. Happy pruning! 🌿✂️