
Pruning
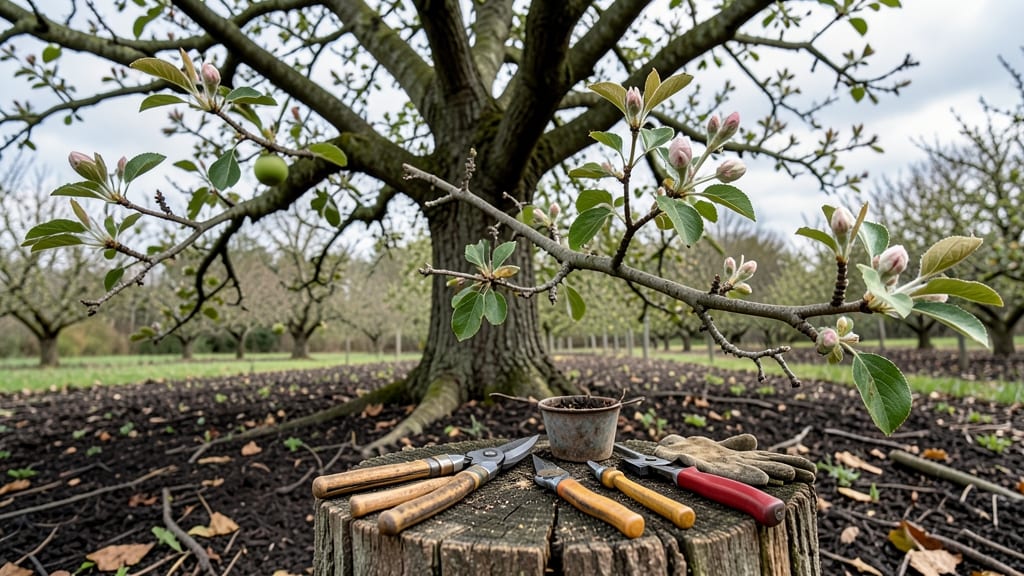
Pruning apple trees wrong can turn your fruit harvest into a bust—literally. ✂️ I’ve seen healthy trees wither away from just one critical mistake, and the worst part? Most gardeners make these errors without even realizing it.
The right cuts boost fruit production; the wrong ones leave you with sparse branches and tiny apples—or worse, no fruit at all.
Timing is everything: prune too early, and you risk frost damage; too late, and the tree wastes energy on new growth instead of next year’s blossoms.
Then there’s the art of the cut—too aggressive, and you starve the tree; too hesitant, and you leave weak branches that snap under fruit weight. I’ve pruned for over a decade, and these five mistakes still trip up gardeners of all levels.
What you’ll learn here is how to spot these blunders before they happen—like cutting into old wood or leaving stubs that invite disease. With the right technique, your tree will reward you with bigger fruit, stronger branches, and fewer pests.
The best part? You don’t need fancy tools, just sharp pruners and a little patience.
Whether you’re a first-timer or a seasoned gardener, these corrections will save your tree—and your harvest. Let’s fix what’s holding your apple tree back before next season’s pruning time rolls around.
📚 In This Guide
- What you need
- Instructions
- Tips and common mistakes
- Wrapping up and next steps
What you need
- ● Pruning shears (bypass pruners) – Sharp, clean, and disinfected (1 pair, 5-8" blades for small branches).
- ● Lopping shears – For thicker branches (1 pair, 8-12" blades, 2-3 ft. handles).
- ● Hand saw or pruning saw – For large branches (1, with a fine-tooth blade).
- ● Rubbing alcohol (70% or higher) – To sterilize tools between cuts (small bottle).
- ○ Pruning sealant (optional but helpful) – For sealing large cuts (small jar or tube).
- ● Gloves – Heavy-duty, cut-resistant (1 pair).
- ● Ladder or step stool – For reaching higher branches (stable, 6-10 ft. height).
- ● Disposable bags or bucket – For collecting pruned branches (1-2 large bags).
- ● Notebook & pencil – To sketch your tree’s structure before pruning (small notebook).
- ● Extension pole pruners – For high branches without a ladder (1 pair).
- ● Tree wound paint – Alternative to sealant (small bottle).
- ● Pruning rope or zip ties – To secure branches temporarily (small roll).
- ● Safety glasses – Protects eyes from debris (1 pair).
- ● Tree growth regulator (if needed) – For aggressive regrowth (follow label instructions).
How to identify and avoid common apple tree pruning errors
Even experienced gardeners make pruning mistakes that rob apple trees of fruit. Here’s how to spot and fix the five worst cuts that backfire.
✂️ Step 1: Avoid Cutting Too Late in the Season
Prune apple trees in late winter or early spring—never after buds swell or during active growth. Late pruning invites disease by leaving fresh wounds open when sap flows, and it stresses the tree by removing energy reserves it needs for fruit production. I’ve seen trees pruned in summer develop fungal infections because the cuts didn’t heal before wet weather arrived.
Watch for leaf buds starting to plump up—that’s your signal to stop pruning. If you see sap oozing from cuts or leaves yellowing afterward, you waited too long. The ideal time is just after the last frost but before buds break.
🌿 Step 2: Never Remove More Than 25% of the Canopy at Once
Over-pruning shocks apple trees, stunting fruit production for years. Cutting back more than 25% of the canopy in one season forces the tree to focus on regrowing leaves instead of setting fruit. I’ve seen gardeners trim entire branches in one go, only to get tiny, sparse harvests the next year.
Here’s how to check: After pruning, look at the tree from all sides. If you can see more than 25% of the branches removed, you’ve gone too far. Thin out branches gradually—over 2-3 years—to keep the tree healthy and productive.
☀️ Step 3: Don’t Prune During Wet Weather
Wet conditions turn pruning cuts into open wounds for bacteria and fungi. Apple trees are especially vulnerable to fire blight and silver leaf fungus when pruned in damp weather. I once pruned a tree right after a rainstorm, and within weeks, the cuts oozed black goo—a classic sign of infection.
Wait for dry, calm days with no rain forecast for 24-48 hours. The best time is a bright, sunny morning when the air is still. If you must prune after rain, sterilize your tools with 70% rubbing alcohol to kill lingering pathogens.
✂️ Step 4: Avoid Cutting Back to Stubby Branches
Leaving stubs (short branch remnants) disrupts the tree’s natural healing process and invites rot. Apple trees heal best when cuts are made just outside the branch collar (the swollen area where the branch meets the trunk). Stub cuts create weak points where disease enters and fruit production slows.
Here’s the fix: Make cuts at a 45-degree angle about ¼ inch outside the collar. The tree will seal the wound naturally, and you’ll see smooth, calloused tissue forming within a few weeks. If you notice oozing sap or blackened edges, you cut too close.
🌱 Step 5: Don’t Ignore Water Sprouts and Suckers
Water sprouts (fast-growing vertical shoots) and suckers (shoots from the base or roots) drain energy from fruit production. Removing them early keeps the tree focused on bearing apples. I’ve seen gardeners let these grow, only to get tiny, bitter fruit because the tree was overworked.
Prune water sprouts back to a lateral branch (a side branch) or remove them entirely if they’re small. For suckers, cut them at the base with clean, sharp shears. Do this in late winter before new growth starts—you’ll see fewer sprouts if you stay on top of it.
Tips & tricks for perfect apple tree pruning
Even the best gardeners miss these key details—here's how to prune like a pro and keep your tree thriving.
Seasonal Timing Tip: The late winter to early spring window (right after last frost but before buds swell) is your golden opportunity. I learned this the hard way after watching a neighbor's tree develop fungal infections from summer pruning. Check for leaf buds starting to plump up—that's your stop signal. If you see sap oozing from cuts or leaves yellowing afterward, you waited too long.
Canopy Management: Think of your apple tree's canopy like a well-balanced budget—don't remove more than 25% in one season. I've seen gardeners trim entire branches in one go, only to get tiny, sparse harvests the next year. After pruning, do this quick check: look at the tree from all sides. If you can see more than 25% of branches removed, you've overdone it. Spread out your pruning over 2-3 years for best results.
Weather Watch: Never prune during wet weather—this is the #1 way to invite disease. Apple trees are especially vulnerable to fire blight and silver leaf fungus when cuts are exposed to moisture. Wait for dry, calm days with no rain forecast for 24-48 hours. I always check the weather forecast before pruning and schedule it for bright, sunny mornings when the air is still. If you must prune after rain, sterilize your tools with 70% rubbing alcohol first.
Cutting Technique: The branch collar (that swollen area where the branch meets the trunk) is your secret weapon. Make cuts at a 45-degree angle about ¼ inch outside the collar, never leaving stubs. I've seen gardeners create these little nubs that become perfect entry points for disease. After making clean cuts, you should see smooth calloused tissue forming within a few weeks—this is how the tree naturally seals the wound.
Pro Tips for Apple Tree Pruning Mistakes
- Even the best gardeners miss these key details—here's how to prune like a pro and keep your tree thriving.
- Seasonal Timing Tip: The late winter to early spring window (right after last frost but before buds swell) is your golden opportunity.
- Canopy Management: Think of your apple tree's canopy like a well-balanced budget—don't remove more than 25% in one season.
Frequently asked questions
Got questions about pruning your apple tree? You’re not alone! Here are answers to the most common concerns—so you can avoid costly mistakes and keep your tree thriving.
When is the best time to prune an apple tree?
The ideal window is late winter or early spring (just before buds swell), when the tree is dormant but pests are less active. Avoid pruning in fall—it can invite disease or rot. For heavy pruning, late winter (Feb–March) is best; light maintenance can happen in summer after harvest.
What happens if I prune too much at once?
Over-pruning (removing more than 25% of the canopy in one session) stresses the tree, weakens growth, and reduces fruit production. You’ll see stunted branches, fewer blooms, and even dieback. Stick to gradual cuts—think of it like a haircut: small trims keep the tree healthy!
Can I prune an apple tree in summer?
Yes, but only for minor adjustments like removing water sprouts or diseased branches. Summer pruning (June–August) can stimulate new growth, which may not harden off before winter. If you must prune, do it after harvest to avoid disrupting fruit development.
Why does my apple tree have so few fruits after pruning?
Fewer fruits often mean you pruned too much or cut back fruit-bearing branches (called "spurs"). Focus on shaping the tree while preserving 3–4 year-old wood—these are where most apples form. If the issue persists, check for pests or nutrient deficiencies too!
What’s the difference between heading cuts and thinning cuts?
| Heading Cuts | Thinning Cuts |
|---|---|
| Cutting back a branch to encourage new growth (e.g., shortening a limb by ⅓). | Removing an entire branch back to its collar to improve airflow and reduce crowding. |
| Best for rejuvenating older wood or shaping the tree. | Best for opening up the canopy and preventing disease. |
Use both methods strategically—heading cuts spur growth, while thinning cuts improve long-term health.
Wrapping up and next steps
Pruning your apple tree might seem tricky, but avoiding these 5 critical mistakes—like cutting too late, over-thinning, or ignoring disease—can make all the difference! 🌱 With the right tools, timing, and technique, you’ll encourage healthier growth and a bountiful harvest.
Now that you’re armed with the know-how, grab those shears and get pruning with confidence!
💡 Next step: Mark your calendar for late winter or early spring—when your tree is still dormant—and start shaping with purpose. Happy pruning! 🍏✂️